OpenGL学习——简单滤镜

OpenGL的学习到这边也告一段落了,从工程的角度上来说从这篇开始就可以集中注意在编写一些滤镜效果了,这也是之后我更关心的部分。

话说回来,什么是滤镜呢?

滤镜通常用于相机镜头作为调色、添加效果之用。如UV镜、偏振镜、星光镜、各种色彩滤光片。

滤镜也是绘图软件中用于制造特殊效果的工具统称,以Photoshop为例,它拥有风格化、画笔描边、模糊、扭曲、锐化、视频、素描、纹理、像素化、渲染、艺术效果、其他等12个滤镜。

简单的说滤镜就是图像的效果处理,它基本功能是对图像形变(利用顶点着色器)和色彩(利用片段着色器)的操控。

Demo工程:OpenGL学习实例

基本效果滤镜

对比度(Contrast)

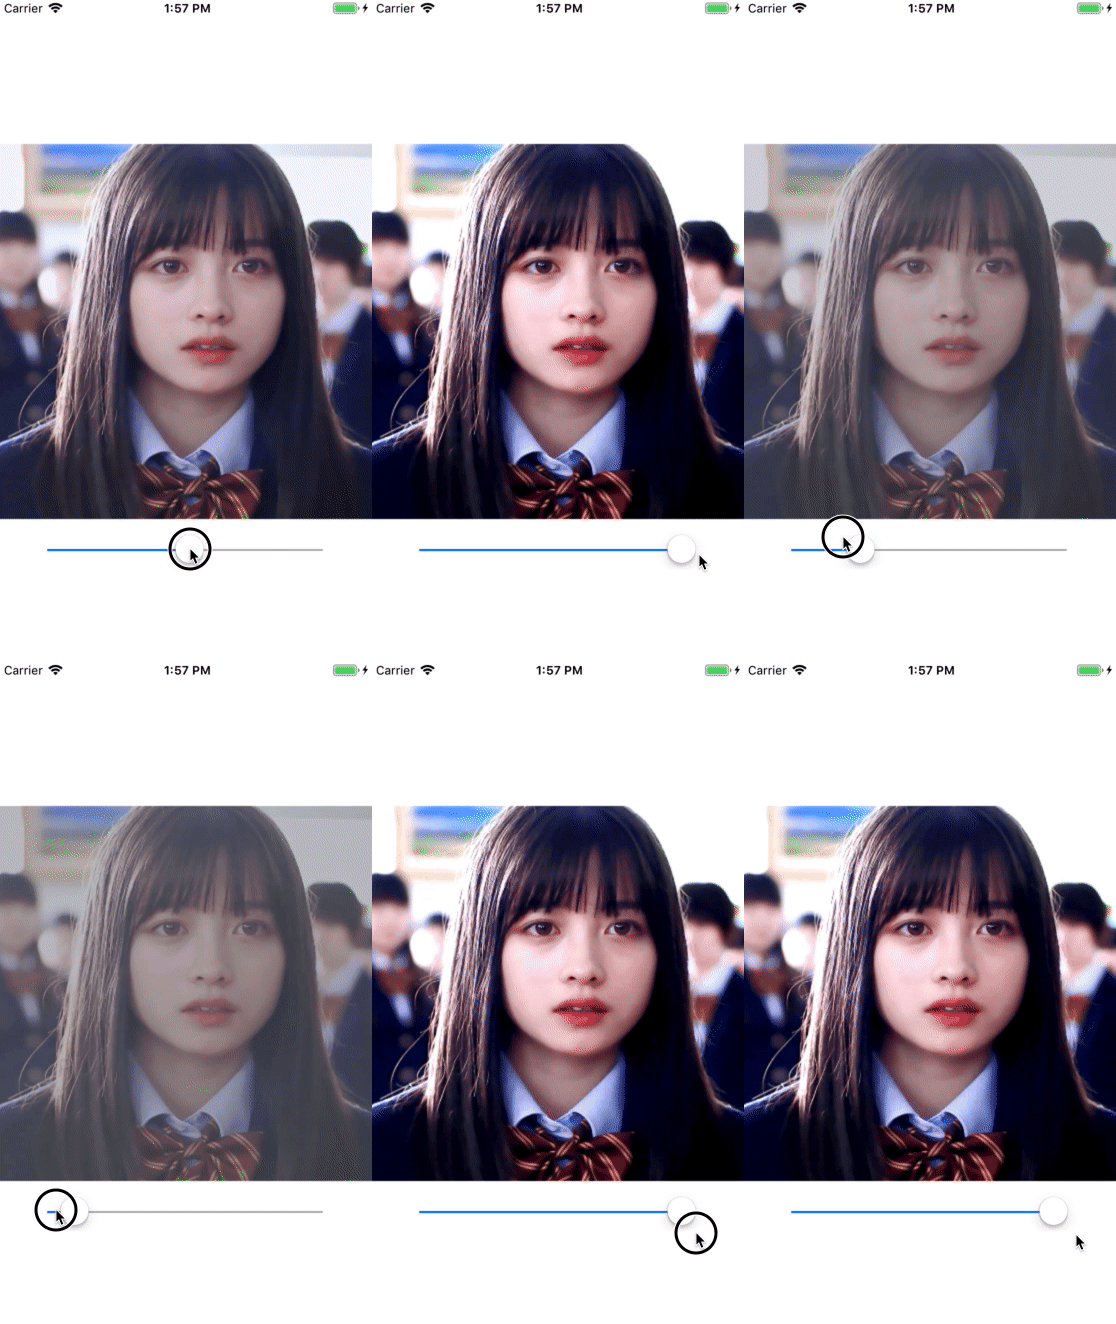
对比度是画面黑与白的比值,也就是从黑到白的渐变层次。比值越大,从黑到白的渐变层次就越多,从而色彩表现越丰富。

对比度对视觉效果的影响非常关键,一般来说对比度越大,图像越清晰醒目,色彩也越鲜明艳丽;而对比度小,则会让整个画面都灰蒙蒙的。

简单的说,对比度是像素颜色和某个中值的差,它可以让明亮的颜色更明亮,让灰暗的颜色更灰暗。

这里实现个简单的线性对比度算法:

结果=中值差*对比度+中值

1
2
3
4
5
6
7
8
varying highp vec2 textureCoordinate;
uniform sampler2D inputTexture;
uniform lowp float contrast;

void main() {
lowp vec4 textureColor = texture2D(inputTexture, textureCoordinate);
gl_FragColor = vec4(((textureColor.rgb - vec3(0.5)) * contrast + vec3(0.5)), textureColor.w);
}

饱和度(Saturation)

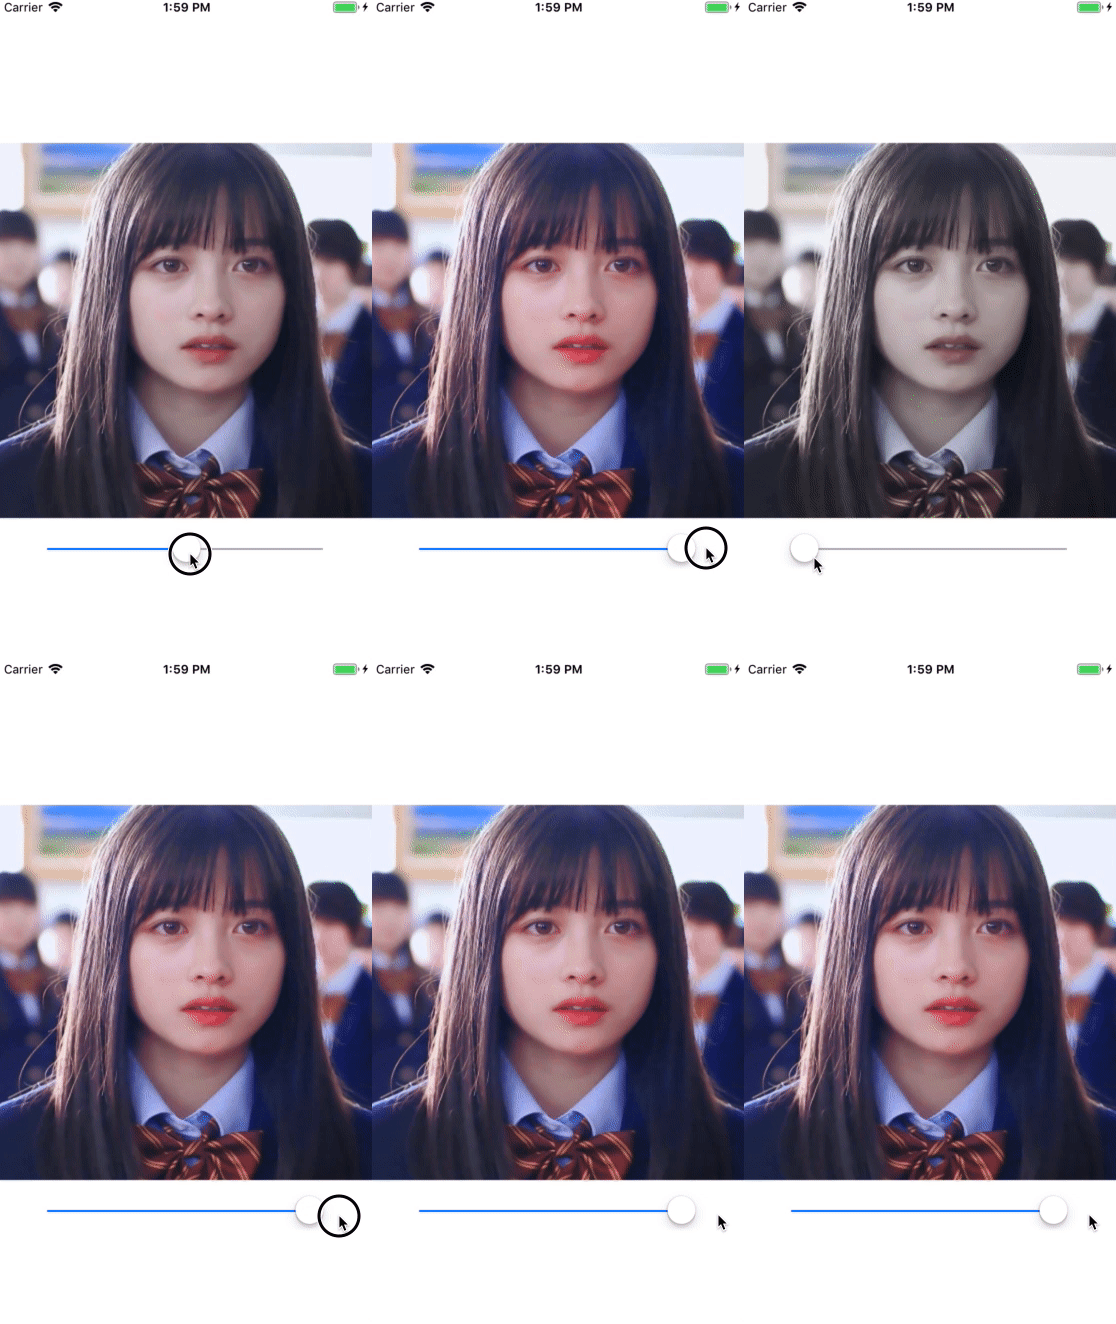
饱和度可定义为彩度除以明度,与彩度同样表征彩色偏离同亮度灰色的程度。饱和度是指色彩的鲜艳程度,也称色彩的纯度。

饱和度取决于该色中含色成分和消色成分(灰色)的比例。含色成分越大,饱和度越大;消色成分越大,饱和度越小。

纯的颜色都是高度饱和的,如鲜红,鲜绿。混杂上白色,灰色或其他色调的颜色,是不饱和的颜色,如绛紫,粉红,黄褐等。完全不饱和的颜色根本没有色调,如黑白之间的各种灰色。

简单的说,饱和度就是每个像素色彩本身的鲜艳程度,饱和度越低越接近灰色,越高就越鲜艳。先根据亮度比例计算出灰度值,用灰度值与原色通过饱和度混合就可以得到新的颜色了。

1
2
3
4
5
6
7
8
9
10
11
12
13
14
varying highp vec2 textureCoordinate;
uniform sampler2D inputTexture;
uniform lowp float saturation;

// Values from "Graphics Shaders: Theory and Practice" by Bailey and Cunningham
const mediump vec3 luminanceWeighting = vec3(0.2125, 0.7154, 0.0721);

void main() {
lowp vec4 textureColor = texture2D(inputTexture, textureCoordinate);
lowp float luminance = dot(textureColor.rgb, luminanceWeighting);
lowp vec3 greyScaleColor = vec3(luminance);

gl_FragColor = vec4(mix(greyScaleColor, textureColor.rgb, saturation), textureColor.w);
}

亮度(luminance)

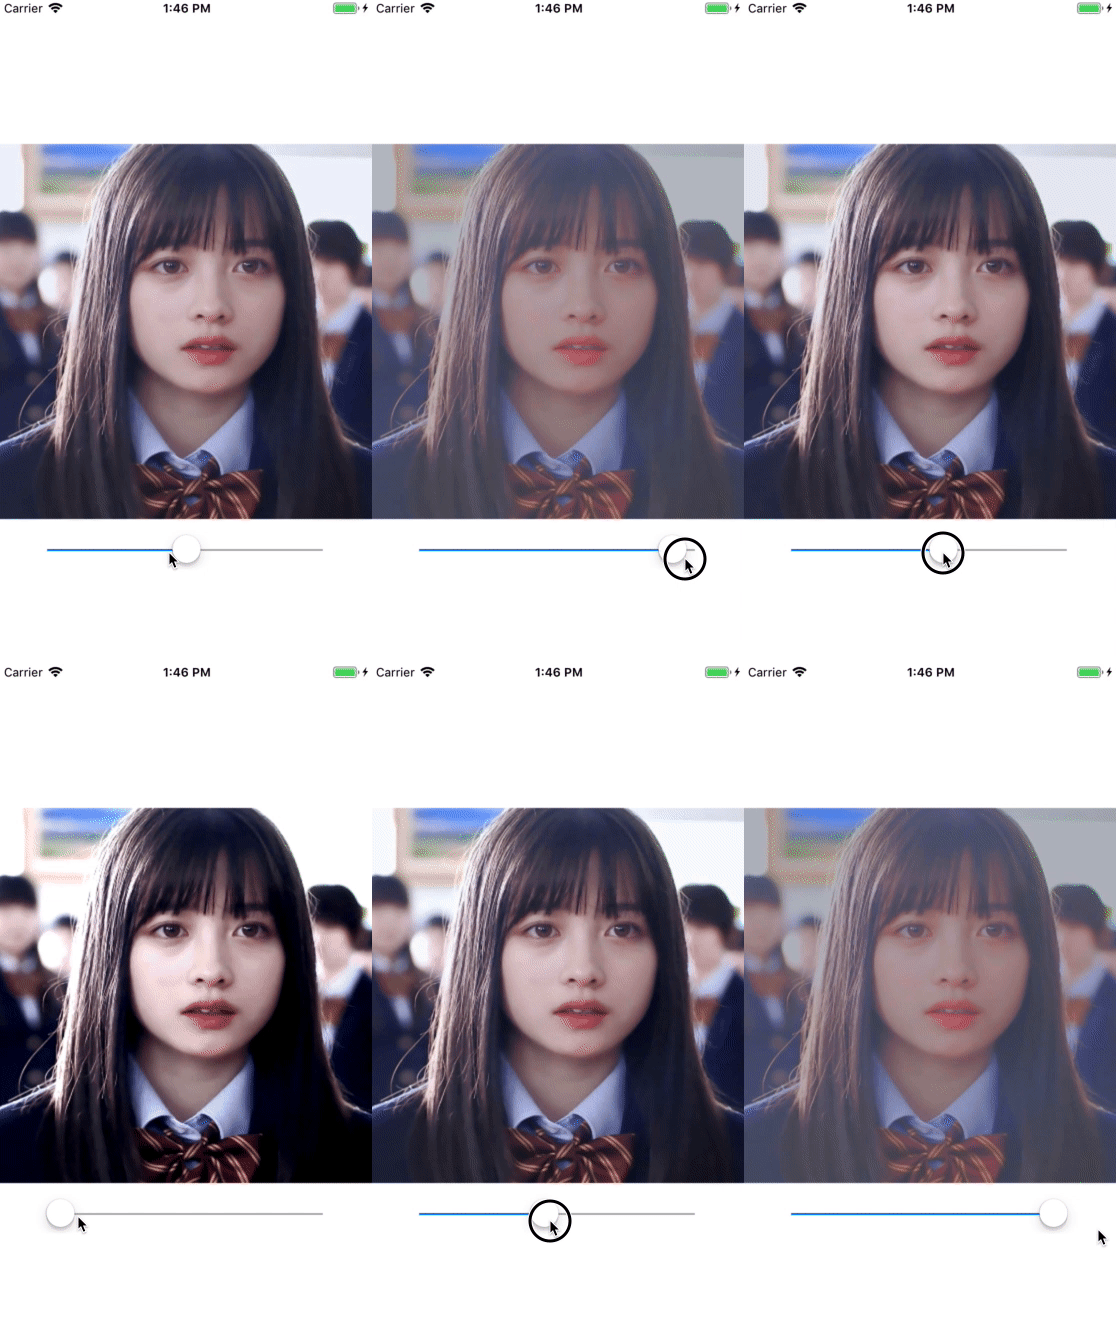
亮度(luminance)是表示人眼对发光体或被照射物体表面的发光或反射光强度实际感受的物理量,亮度和光强这两个量在一般的日常用语中往往被混淆使用。简而言之,当任两个物体表面在照相时被拍摄出的最终结果是一样亮、或被眼睛看起来两个表面一样亮,它们就是亮度相同。

国际单位制中规定,“亮度”的符号是B,单位为尼特。

亮度(明度)反应了色彩的明暗程度,它和色相(H)、饱和度(S)共同构成HSL色彩空间。调整亮度只需要RGB色彩空间里面同时加上一个程度值。

1
2
3
4
5
6
7
8
9
10
11
12
13
14
15
varying highp vec2 textureCoordinate;
uniform sampler2D inputTexture;
uniform lowp float rangeReduction;

// Values from "Graphics Shaders: Theory and Practice" by Bailey and Cunningham
const mediump vec3 luminanceWeighting = vec3(0.2125, 0.7154, 0.0721);

void main()
{
lowp vec4 textureColor = texture2D(inputTexture, textureCoordinate);
mediump float luminance = dot(textureColor.rgb, luminanceWeighting);
mediump float luminanceRatio = ((0.5 - luminance) * rangeReduction);

gl_FragColor = vec4((textureColor.rgb) + (luminanceRatio), textureColor.w);
}

锐化(Sharpen)

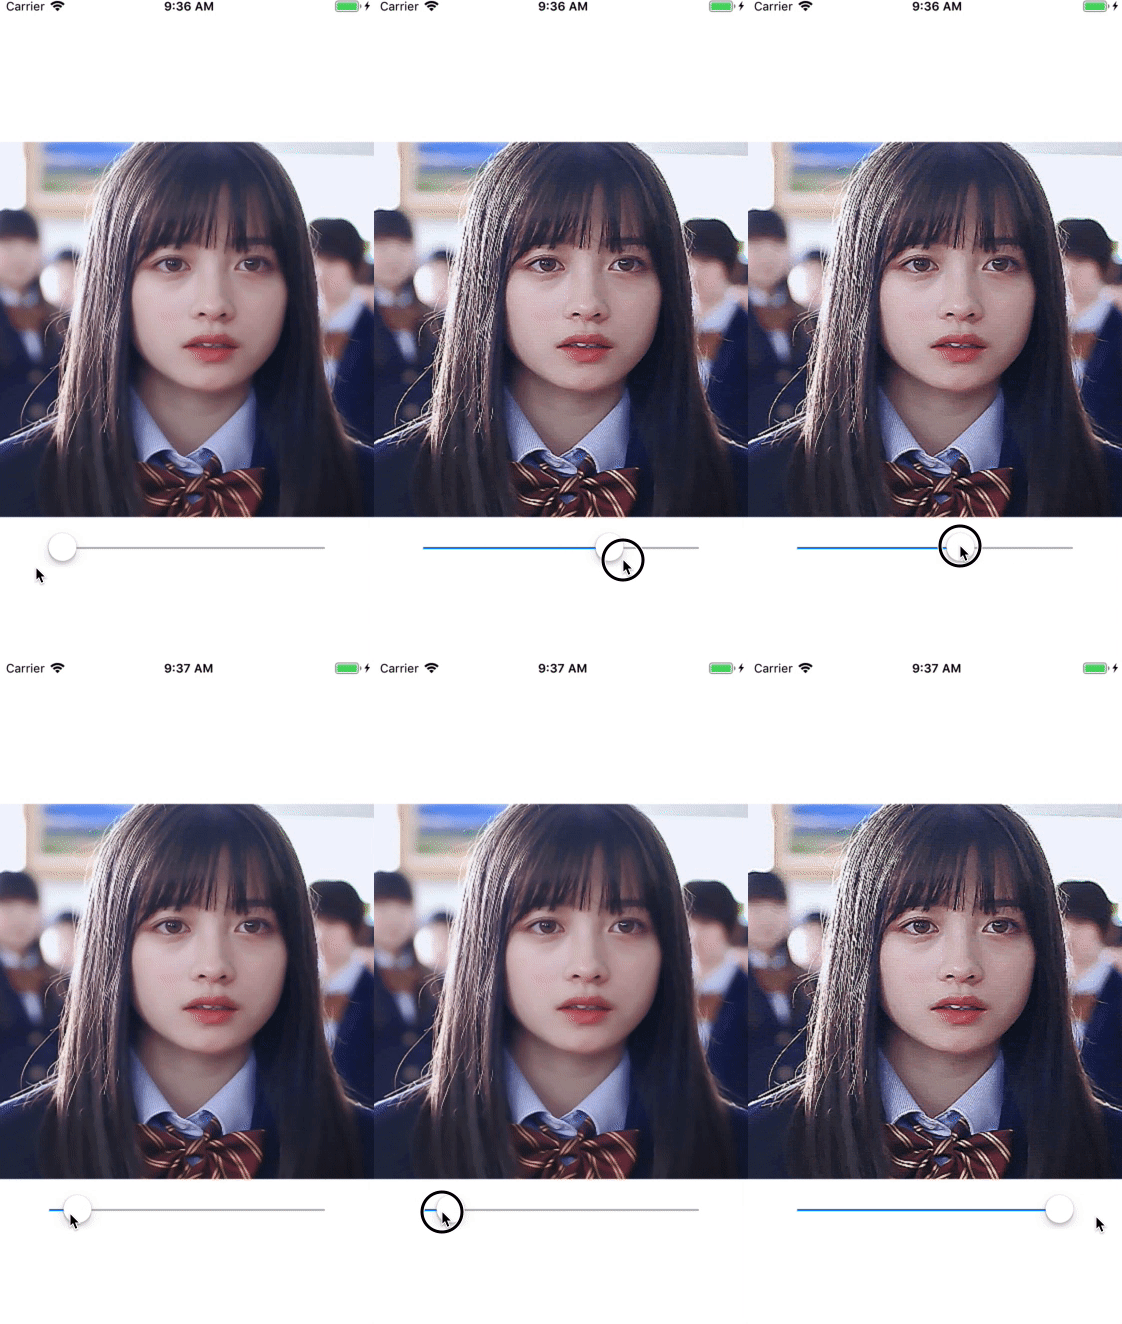
图像锐化(image sharpening)是补偿图像的轮廓,增强图像的边缘及灰度跳变的部分,使图像变得清晰,分为空域处理和频域处理两类。

图像锐化是为了突出图像上地物的边缘、轮廓,或某些线性目标要素的特征。这种滤波方法提高了地物边缘与周围像元之间的反差,因此也被称为边缘增强。

简单的说,我们通过周围像素之间的对比,提高对比度让边缘轮廓更清晰。根据四周像素点的颜色和锐化程度改变中心点和四周的差值。

1
2
3
4
5
6
7
8
9
10
11
12
13
14
15
16
17
18
19
20
21
22
23
24
25
26
27
28
29
30
31
attribute vec4 position;
attribute vec4 inputTextureCoordinate;

uniform float imageWidthFactor;
uniform float imageHeightFactor;
uniform float sharpness;

varying vec2 textureCoordinate;
varying vec2 leftTextureCoordinate;
varying vec2 rightTextureCoordinate;
varying vec2 topTextureCoordinate;
varying vec2 bottomTextureCoordinate;

varying float centerMultiplier;
varying float edgeMultiplier;

void main() {
gl_Position = position;

vec2 widthStep = vec2(imageWidthFactor, 0.0);
vec2 heightStep = vec2(0.0, imageHeightFactor);

textureCoordinate = inputTextureCoordinate.xy;
leftTextureCoordinate = inputTextureCoordinate.xy - widthStep;
rightTextureCoordinate = inputTextureCoordinate.xy + widthStep;
topTextureCoordinate = inputTextureCoordinate.xy + heightStep;
bottomTextureCoordinate = inputTextureCoordinate.xy - heightStep;

centerMultiplier = 1.0 + 4.0 * sharpness;
edgeMultiplier = sharpness;
}

锐化算法需要知道四周像素的位置信息,所以这边需要传入图像的Texel大小(每个像素点的单位长度)给顶点着色器做计算。

1
2
3
4
5
6
7
8
9
10
11
12
13
14
15
16
17
18
19
20
21
22
precision highp float;

varying highp vec2 textureCoordinate;
varying highp vec2 leftTextureCoordinate;
varying highp vec2 rightTextureCoordinate;
varying highp vec2 topTextureCoordinate;
varying highp vec2 bottomTextureCoordinate;

varying highp float centerMultiplier;
varying highp float edgeMultiplier;

uniform sampler2D inputTexture;

void main() {
mediump vec3 textureColor = texture2D(inputTexture, textureCoordinate).rgb;
mediump vec3 leftTextureColor = texture2D(inputTexture, leftTextureCoordinate).rgb;
mediump vec3 rightTextureColor = texture2D(inputTexture, rightTextureCoordinate).rgb;
mediump vec3 topTextureColor = texture2D(inputTexture, topTextureCoordinate).rgb;
mediump vec3 bottomTextureColor = texture2D(inputTexture, bottomTextureCoordinate).rgb;

gl_FragColor = vec4((textureColor * centerMultiplier - (leftTextureColor * edgeMultiplier + rightTextureColor * edgeMultiplier + topTextureColor * edgeMultiplier + bottomTextureColor * edgeMultiplier)), texture2D(inputTexture, bottomTextureCoordinate).w);
}

通过顶点着色器获取四周Texel的位置然后获取在这张Texture上获取该位置上的颜色进行差值计算就可以得到当前Texel的颜色,这就是一个锐化过程。
晕影(Vignette)

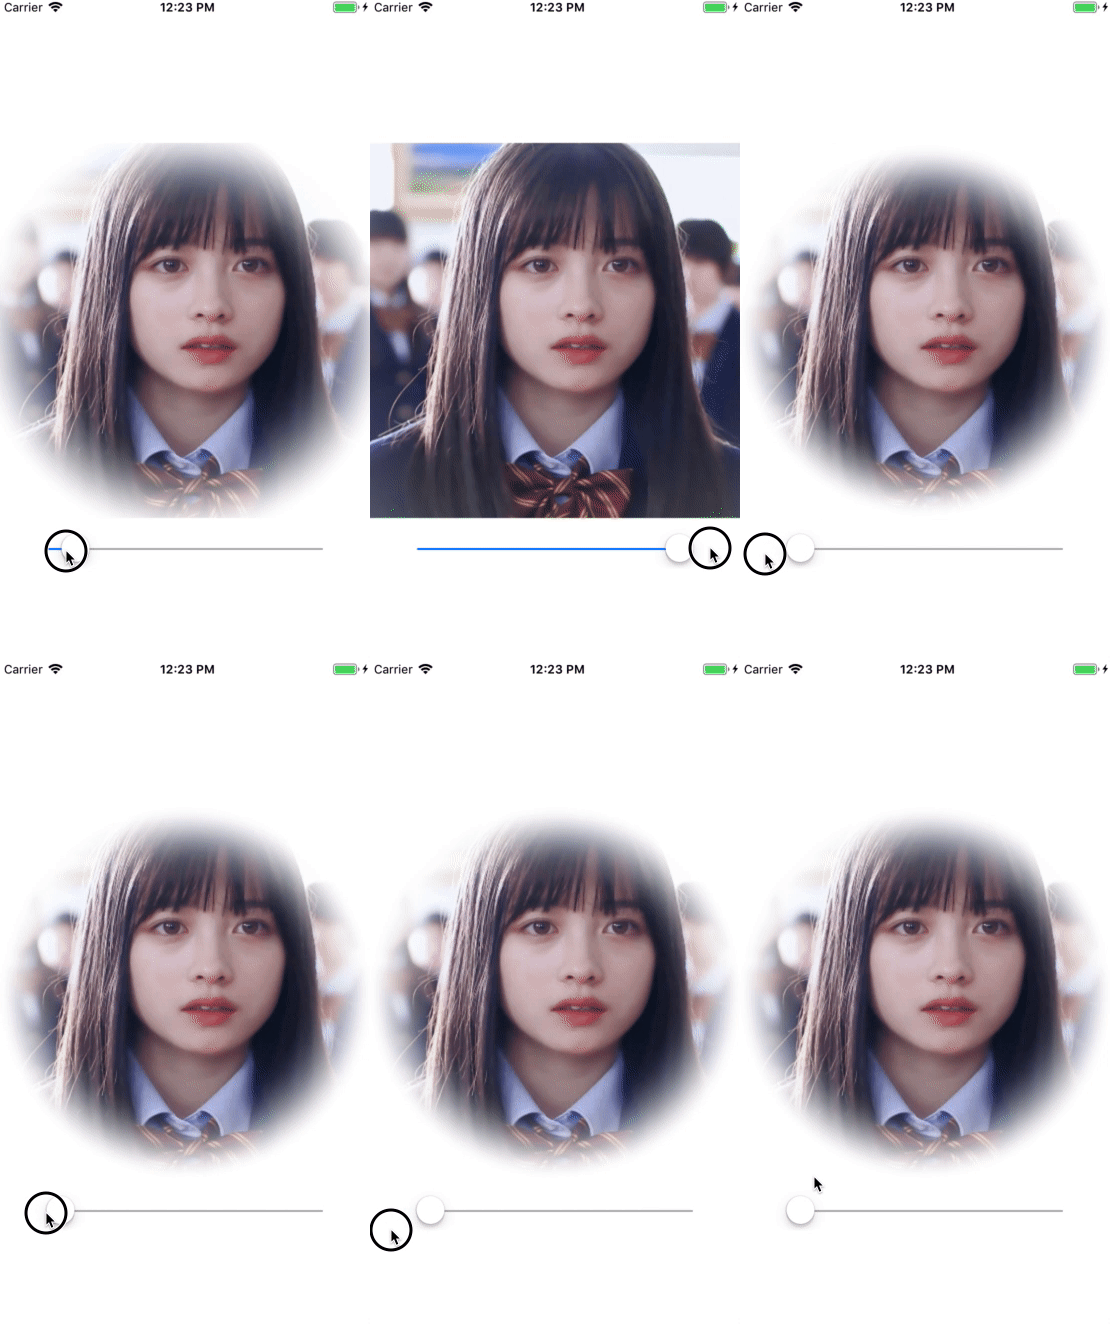
在摄影和光学领域内,晕影或暗角是指图像的外围部分的亮度或饱和度比中心区域低。

晕影的出现通常是因为相机的设定和镜头的限制因素等,被认为是不希望得到的和非故意的效果,然而,有时却因为需要创意风格而被刻意加入,例如引起对图像中心区的注意。摄影师也会故意选择能产生晕影的镜头来制造特效,也可以使用特别的滤镜或以后期处理来制造晕影。

这里实现一个晕影算法,以中心点开始一个圆内的像素颜色正常,外围按比例混合晕影颜色。

1
2
3
4
5
6
7
8
9
10
11
12
13
14
15
uniform sampler2D inputTexture;
varying highp vec2 textureCoordinate;

uniform lowp vec2 vignetteCenter;
uniform lowp vec3 vignetteColor;
uniform highp float vignetteStart;
uniform highp float vignetteEnd;

void main()
{
lowp vec4 sourceImageColor = texture2D(inputTexture, textureCoordinate);
lowp float d = distance(textureCoordinate, vec2(vignetteCenter.x, vignetteCenter.y));
lowp float percent = smoothstep(vignetteStart, vignetteEnd, d);
gl_FragColor = vec4(mix(sourceImageColor.rgb, vignetteColor, percent), sourceImageColor.a);
}

这里用到GSGL的几个内置函数distance(计算距离),mix(混合颜色),smoothstep(平滑阶梯)。
色调/色相(Hue)

明色调(Tint)与暗色调(Shade)。明色调,也有人称为含白度。暗色调,也有人称为含黑度。

在色彩理论中,明色调是一种与白色颜色的混合,这减少了暗度。而暗色调是与黑色的混合,这增加了暗度。色调(Tone)则透过和灰色的混合,或是和明色调和暗色调两者着色的混合。将颜色和任何的中性色混合(包括黑,灰和白色)可降低彩度或视彩度,同时色相保持不变。

色调不是指颜色的性质,是对一幅绘画作品的整体评价。一幅绘画作品虽然可能用了多种颜色,但总体有一种色调,是偏蓝或偏红,是偏暖或偏冷等等。

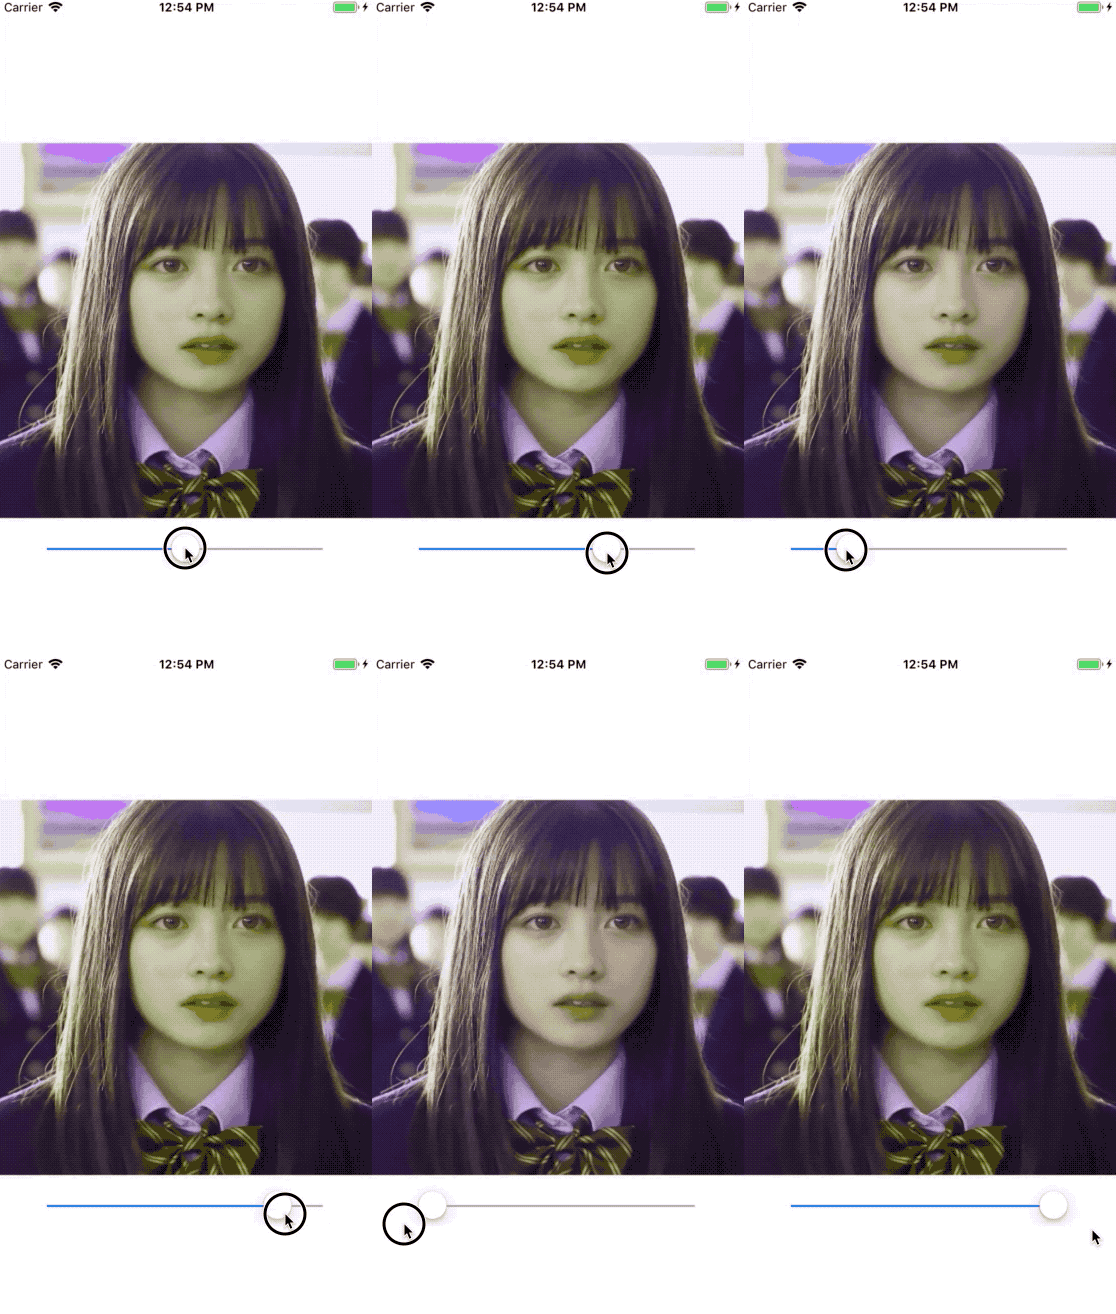
色调(Hue)描述的是整体的颜色效果,但是在HSV/HLS色彩空间中调整效果不是很理想,这里建议切换到YIQ色彩空间进行计算

1
2
3
4
5
6
7
8
9
10
11
12
13
14
15
16
17
18
19
20
21
22
23
24
25
26
27
28
29
30
31
32
33
34
35
36
37
38
39
40
41
42
precision highp float;
varying highp vec2 textureCoordinate;

uniform sampler2D inputImageTexture;
uniform mediump float hueAdjust;
const highp vec4 kRGBToYPrime = vec4 (0.299, 0.587, 0.114, 0.0);
const highp vec4 kRGBToI = vec4 (0.595716, -0.274453, -0.321263, 0.0);
const highp vec4 kRGBToQ = vec4 (0.211456, -0.522591, 0.31135, 0.0);

const highp vec4 kYIQToR = vec4 (1.0, 0.9563, 0.6210, 0.0);
const highp vec4 kYIQToG = vec4 (1.0, -0.2721, -0.6474, 0.0);
const highp vec4 kYIQToB = vec4 (1.0, -1.1070, 1.7046, 0.0);

void main () {
// Sample the input pixel
highp vec4 color = texture2D(inputImageTexture, textureCoordinate);

// Convert to YIQ
highp float YPrime = dot (color, kRGBToYPrime);
highp float I = dot (color, kRGBToI);
highp float Q = dot (color, kRGBToQ);

// Calculate the hue and chroma
highp float hue = atan (Q, I);
highp float chroma = sqrt (I * I + Q * Q);

// Make the user's adjustments
hue += (-hueAdjust); //why negative rotation?

// Convert back to YIQ
Q = chroma * sin (hue);
I = chroma * cos (hue);

// Convert back to RGB
highp vec4 yIQ = vec4 (YPrime, I, Q, 0.0);
color.r = dot (yIQ, kYIQToR);
color.g = dot (yIQ, kYIQToG);
color.b = dot (yIQ, kYIQToB);

// Save the result
gl_FragColor = color;
}