众所周知成为iOS开发者是有成本的,开发App交钱和没交钱也会被区别对待。查一查App-Capabilities这张表里面的功能中一些高级功能都是需要成为付费用户才能够进行开发的。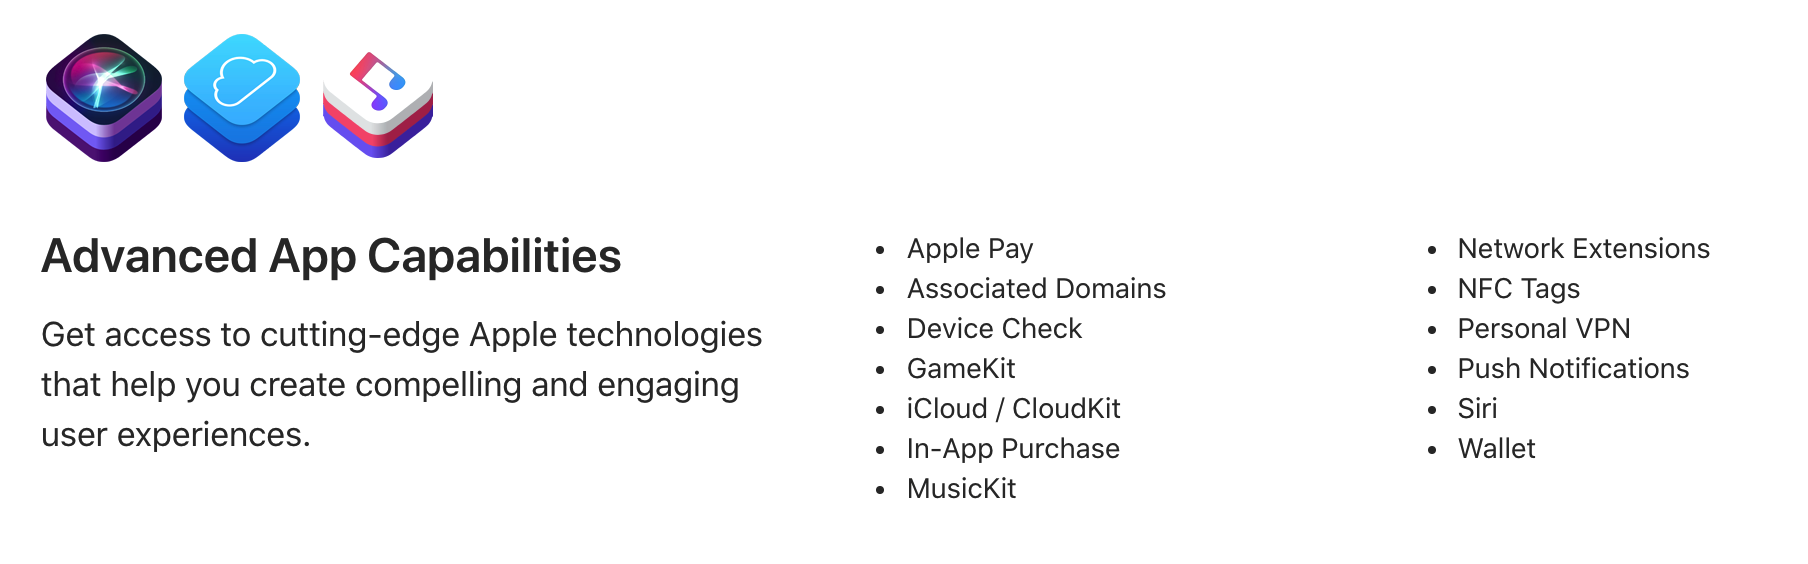
如果只是想要学一学相关框架应用或者是技术验证而不上架Appstore的话,交这99刀就有些浪费了。不过假设你和我一样拥有一台越狱设备的话,完全可以通过技术手段来绕开这些限制。
安装必要越狱插件
在进行修改App授权设备能力之前需要给越狱设备安装下面这两个插件:
- AFC2:开放设备的文件系统。
- AppSync Undefined:使得应用绕开验证便可以安装到设备上。
在找到正确的方案之前,发现在Xcode8及以前安装越狱应用可能需要如Tutorial: How to use AppSync Unified for development with Xcode这篇文章说的那么做,但是这样做只能在Xcode9以下的版本实现安装越狱应用而它的高级功能仍受限于授权文件无法使用,然后又跟着Tutorial: iOS - creating self-signed development certificate and provisioning profile to sign intermediate binaries这篇文章使用自签证书修改Provisioning Profile里面的授权信息并重签发现在App运行起来的时候总是失败,说明不能使用自签证书。
绕了一圈想到应该是需要使用Apple提供的签名证书才能够让应用在设备上运行起来。最终使用 Apple提供的免费开发者证书 + 自定义Provisioning Profile 实现开放App高级功能并实现在Xcode11调试。
自定义Provisioning Profile
1.打开一个新项目使用免费账号创建一个Provisioning Profile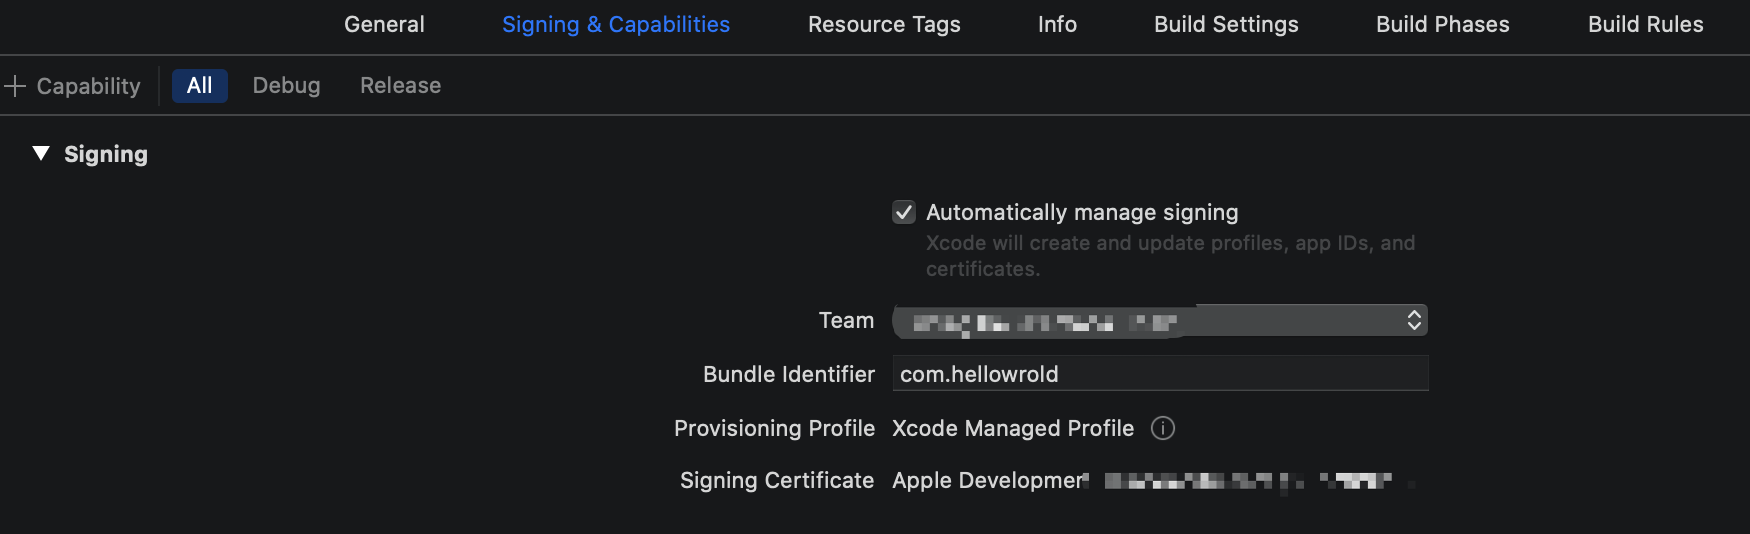
2.到~/Library/MobileDevice/Provisioning Profiles目录下找到这个文件
3.执行security cms -D -i xxx.mobileprovision解码这个文件获取如下模板的内容:1
2
3
4
5
6
7
8
9
10
11
12
13
14
15
16
17
18
19
20
21
22
23
24
25
26
27
28
29
30
31
32
33
34
35
36
37
38
39
40
41
42
43
44
45
46
47
48
49
50
51
52
53
54
55
56
57
58
59
60
61
62<?xml version="1.0" encoding="UTF-8"?>
<!DOCTYPE plist PUBLIC "-//Apple//DTD PLIST 1.0//EN" "http://www.apple.com/DTDs/PropertyList-1.0.dtd">
<plist version="1.0">
<dict>
<key>AppIDName</key>
<string>XC com hellowrold</string>
<key>ApplicationIdentifierPrefix</key>
<array>
<string>9FGA344YZ7</string>
</array>
<key>CreationDate</key>
<date>2020-01-02T06:29:08Z</date>
<key>Platform</key>
<array>
<string>iOS</string>
</array>
<key>IsXcodeManaged</key>
<true/>
<key>DeveloperCertificates</key>
<array>
<data>xxxxxxx</data>
<data>xxxxx</data>
</array>
<key>Entitlements</key>
<dict>
<key>application-identifier</key>
<string>9FGA344YZ7.com.hellowrold</string>
<key>keychain-access-groups</key>
<array>
<string>9FGA344YZ7.*</string>
</array>
<key>get-task-allow</key>
<true/>
<key>com.apple.developer.team-identifier</key>
<string>9FGA344YZ7</string>
</dict>
<key>ExpirationDate</key>
<date>2020-01-09T06:29:08Z</date>
<key>Name</key>
<string>xxxxxxxxxxxxxxxxxx</string>
<key>ProvisionedDevices</key>
<array>
<string>xxxxxxxxxxxxxxxxxxxx</string>
</array>
<key>LocalProvision</key>
<true/>
<key>TeamIdentifier</key>
<array>
<string>9FGA344YZ7</string>
</array>
<key>TeamName</key>
<string>xxxxxxxxxx</string>
<key>TimeToLive</key>
<integer>7</integer>
<key>UUID</key>
<string>228ad050-34c4-42d8-a62b-80f1ee27e9e0</string>
<key>Version</key>
<integer>1</integer>
</dict>
</plist>
4.打开Key-Chain里面可以找到我们的免费开发证书,其中组织单位字段对应着上面那张自动生成的Profile中的Team字段。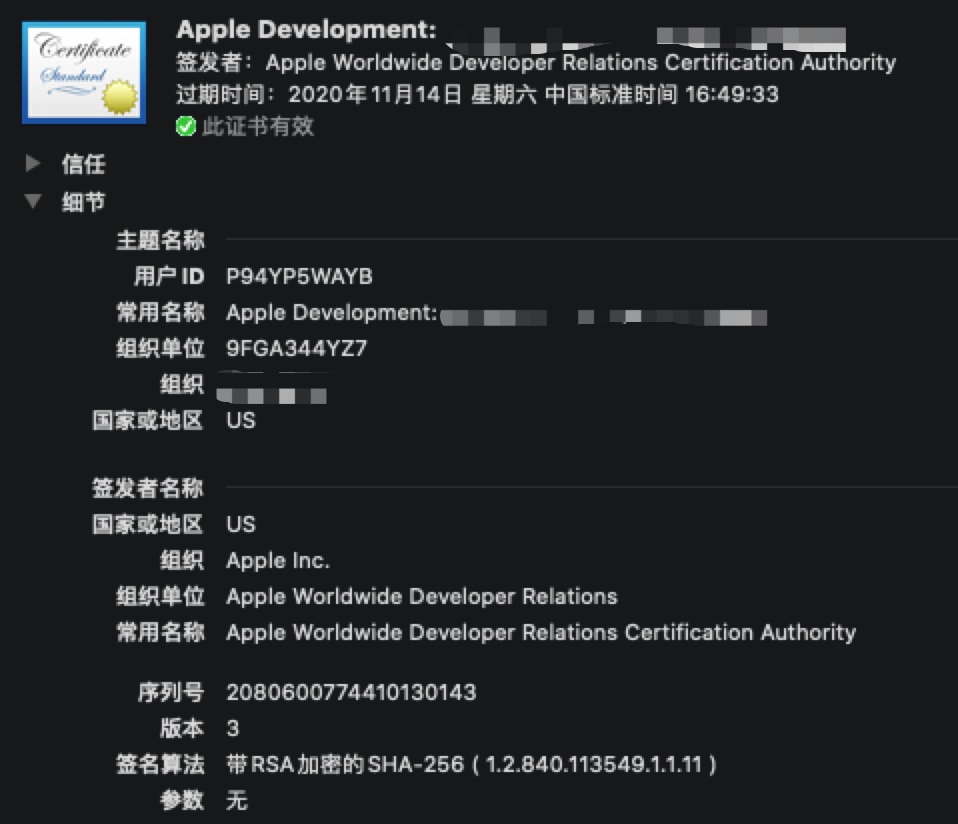
5.执行security find-certificate -c "Apple免费开发者证书" -p获取DeveloperCertificates的内容(因为这里Apple帮我们生成的Profile里面已经包含了这部分所以直接略过这一步)
6.可以知道Provisioning Profile里面的内容实际上就是一些xml配置,我们可以通过修改这里面的配置内容来实现提升设备授权Entitlements。这里由于我们需要用到VPN和Netwrok Extension所以将上面的授权信息修改为如下:1
2
3
4
5
6
7
8
9
10
11
12
13
14
15
16
17
18
19
20
21
22
23
24<key>Entitlements</key>
<dict>
<key>application-identifier</key>
<string>9FGA344YZ7.*</string>
<key>keychain-access-groups</key>
<array>
<string>9FGA344YZ7.*</string>
</array>
<key>get-task-allow</key>
<true/>
<key>com.apple.developer.team-identifier</key>
<string>9FGA344YZ7</string>
<key>com.apple.developer.networking.networkextension</key>
<array>
<string>app-proxy-provider</string>
<string>content-filter-provider</string>
<string>dns-proxy</string>
<string>packet-tunnel-provider</string>
</array>
<key>com.apple.developer.networking.vpn.api</key>
<array>
<string>allow-vpn</string>
</array>
</dict>
7.上一步实现了我们的主要目的,还需要进一步调整这个Provisioning Profile的一些细节如:关闭Xcode管理、允许所有设备安装、修改创建时间以及过期时间、修改Provision\team显示名称、文件UUID1
2
3
4
5
6
7
8
9
10
11
12
13
14
15
16
17
18
19
20
21
22<key>IsXcodeManaged</key>
<false/>
<key>ProvisionsAllDevices</key>
<true/>
<key>CreationDate</key>
<date>2020-01-02T06:29:08Z</date>
<key>ExpirationDate</key>
<date>2020-01-02T06:29:08Z</date>
<key>TimeToLive</key>
<integer>3652</integer>
<key>AppIDName</key>
<string>Jailbreak Provisioning Profile</string>
<key>Name</key>
<string>Jailbreak Provisioning Profile: David Changed</string>
<key>TeamName</key>
<string>Jailbreak</string>
<key>UUID</key>
<string>274b8030-eeff-6a4d-5657-c51ec2f4ab22</string>
8.最后使用security cms -S -N "Apple免费开发者证书" -i provisioning.plist -o Jailbreak.mobileprovision生成一张新的Provisioning Profile。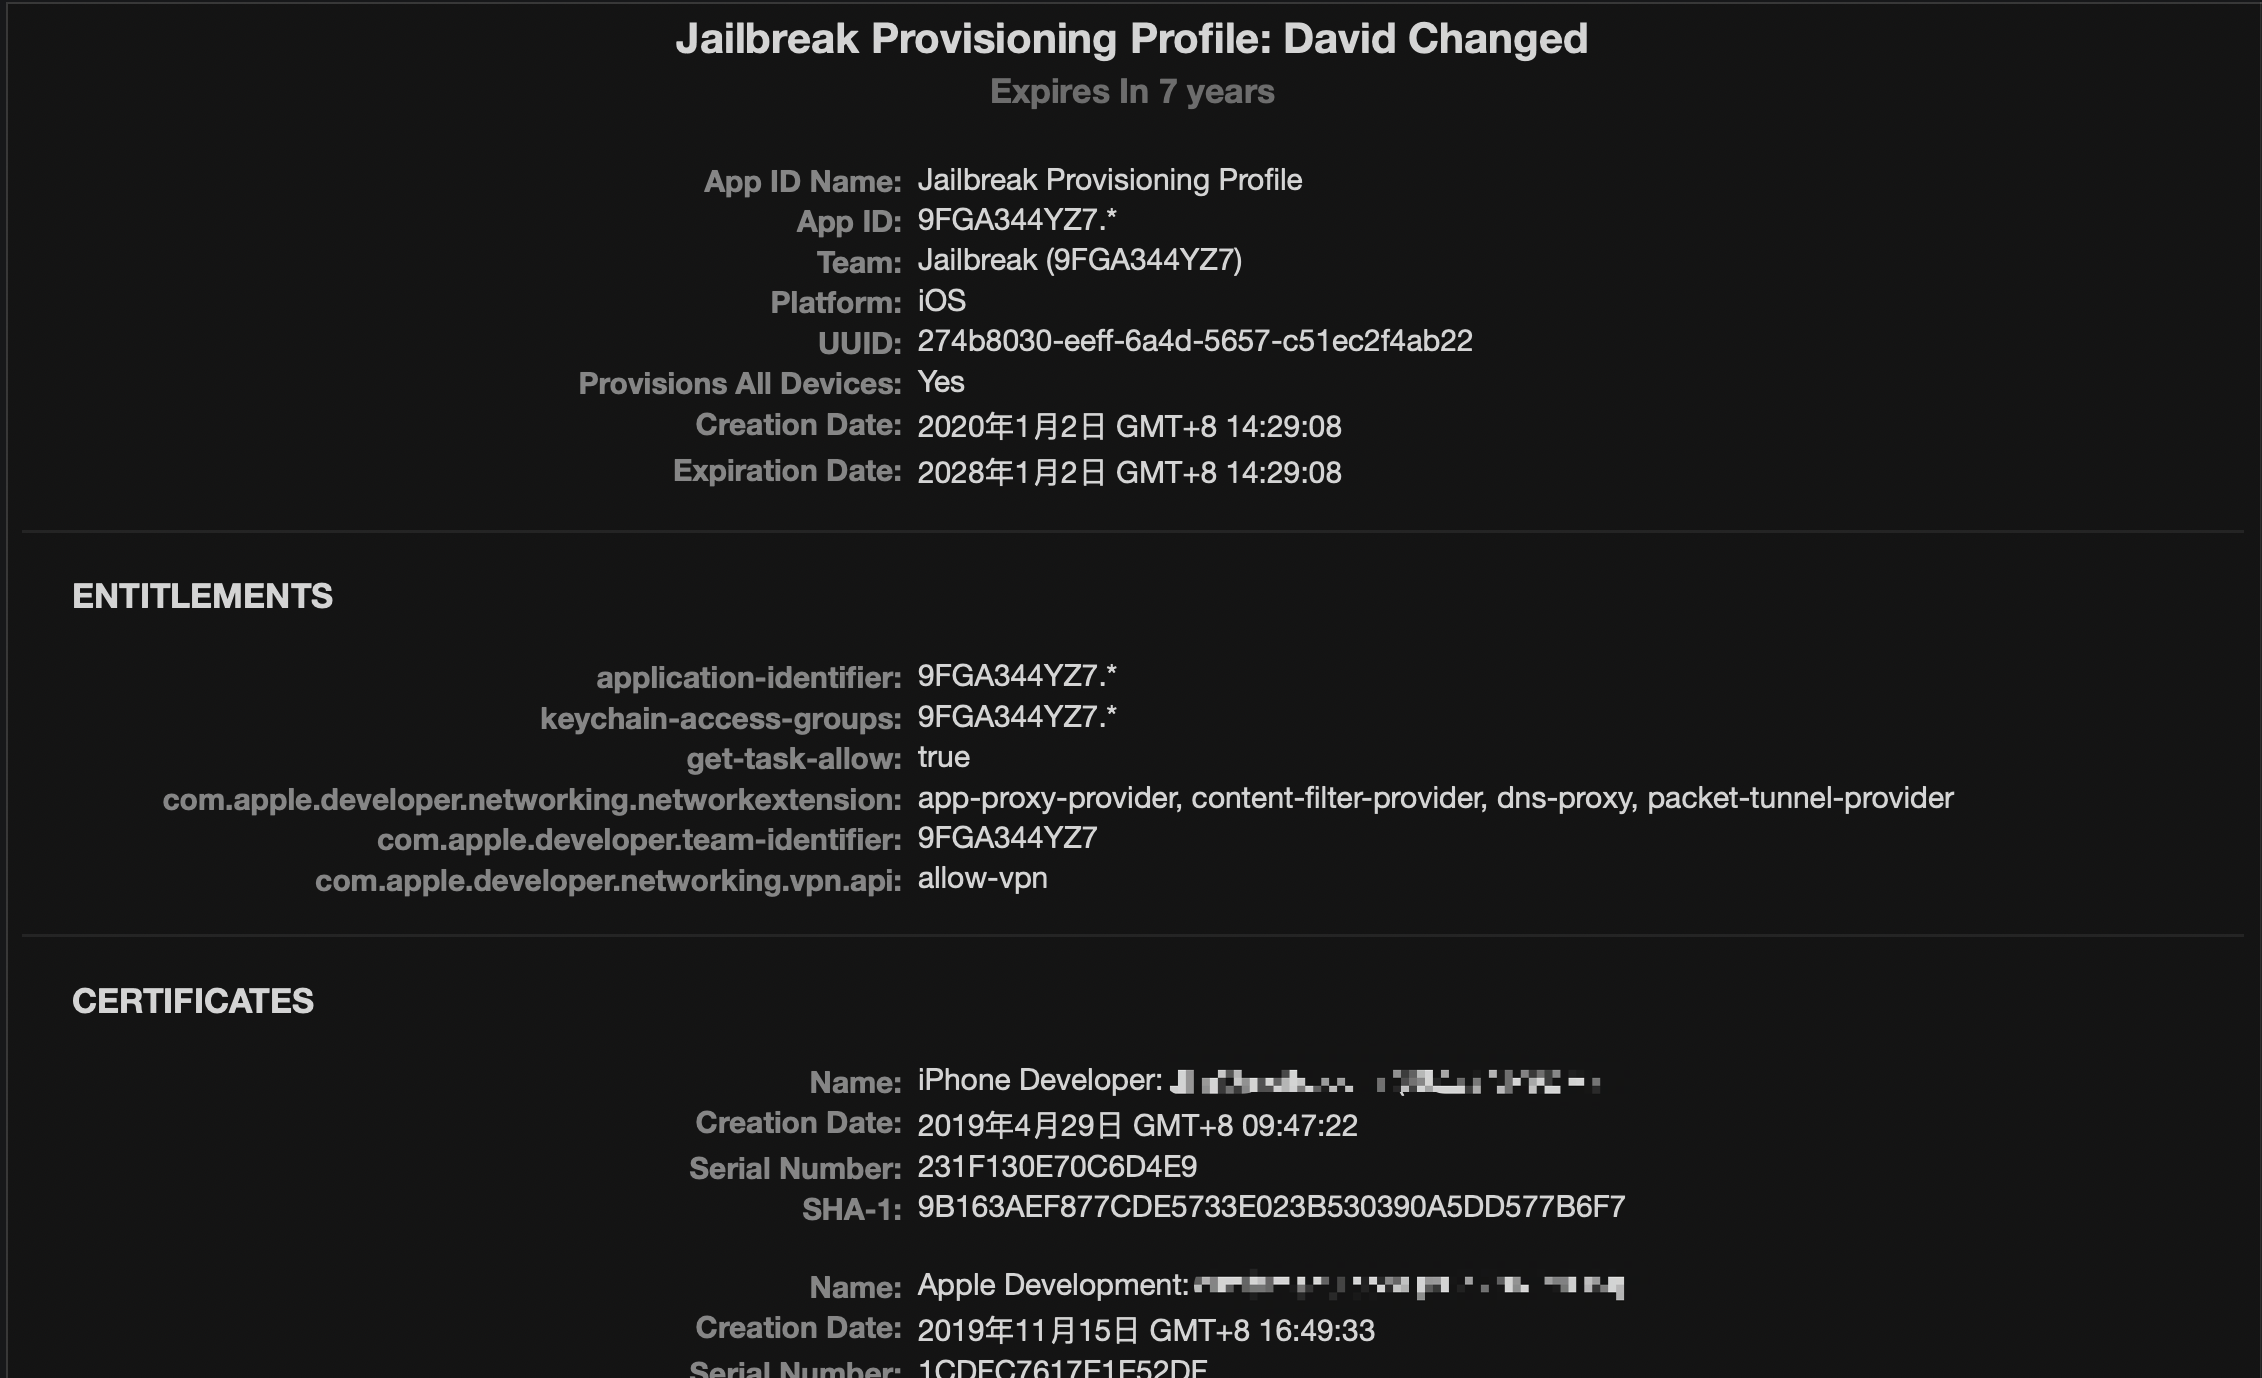
修改工程配置指定Provisioning Profile
首先我们进入Build Setting里面搜索code sign指定Entitlements(授权文件)的路径以及代码签名所用的证书(Apple颁发的免费开发者证书),同时把签名方式改为手动的。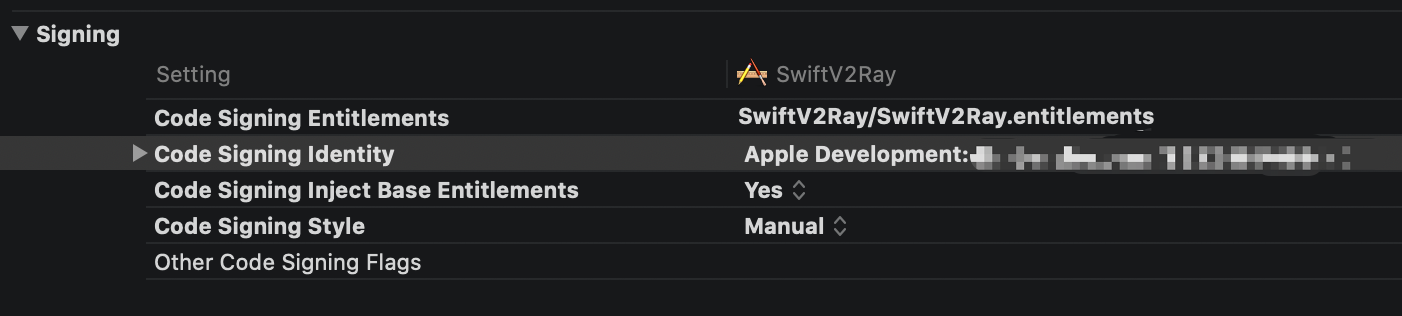
接着搜索provision指定Provisioning Profile为我们修改的文件以及修改相应的Team。
到这里,我的越狱设备就拥有了调试Network Extension和Personal VPN这两个高级功能的能力了。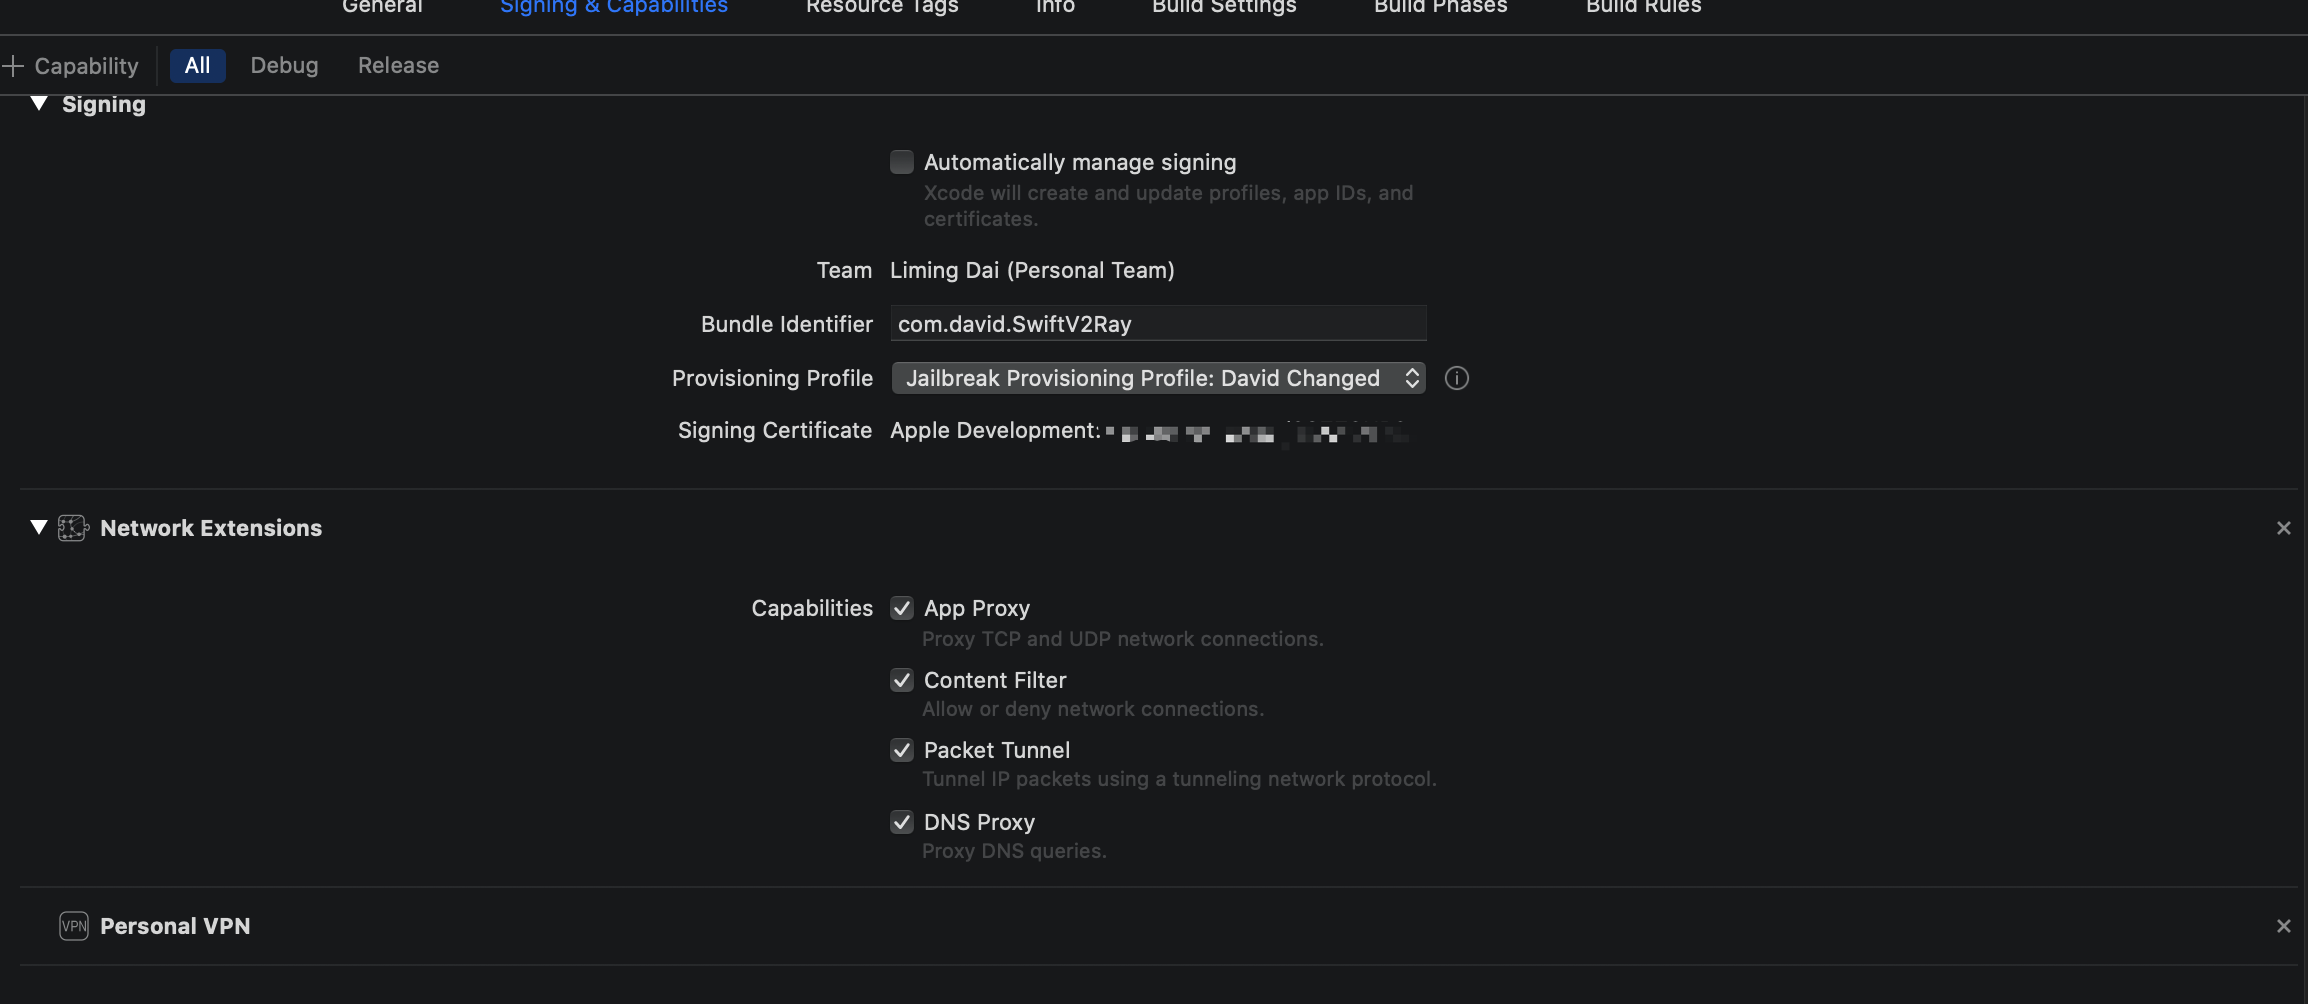
参考
iOS Entitlement分析
Tutorial: How to use AppSync Unified for development with Xcode
Fake provisioning
深度长文:细说iOS代码签名